Introduction
Facing a cracked or malfunctioning MacBook screen can disrupt your daily activities and productivity. Fortunately, you can handle screen replacement yourself, saving on costly repair services. This guide offers a straightforward method to replace your MacBook screen efficiently, ensuring your device is up and running smoothly.

Why You Might Need to Replace Your MacBook Screen
Typically, MacBook screens need replacement due to cracks from accidental drops or technical issues causing visual distortions. Symptoms like flickering, dead pixels, discoloration, or an inactive screen suggest it is time for a replacement. Addressing these issues promptly can prevent further damage to your device and restore its functionality.
Understanding why your screen might need replacing sets the foundation for preparing for a DIY replacement. With the right tools and organized workspace, the replacement process becomes manageable.
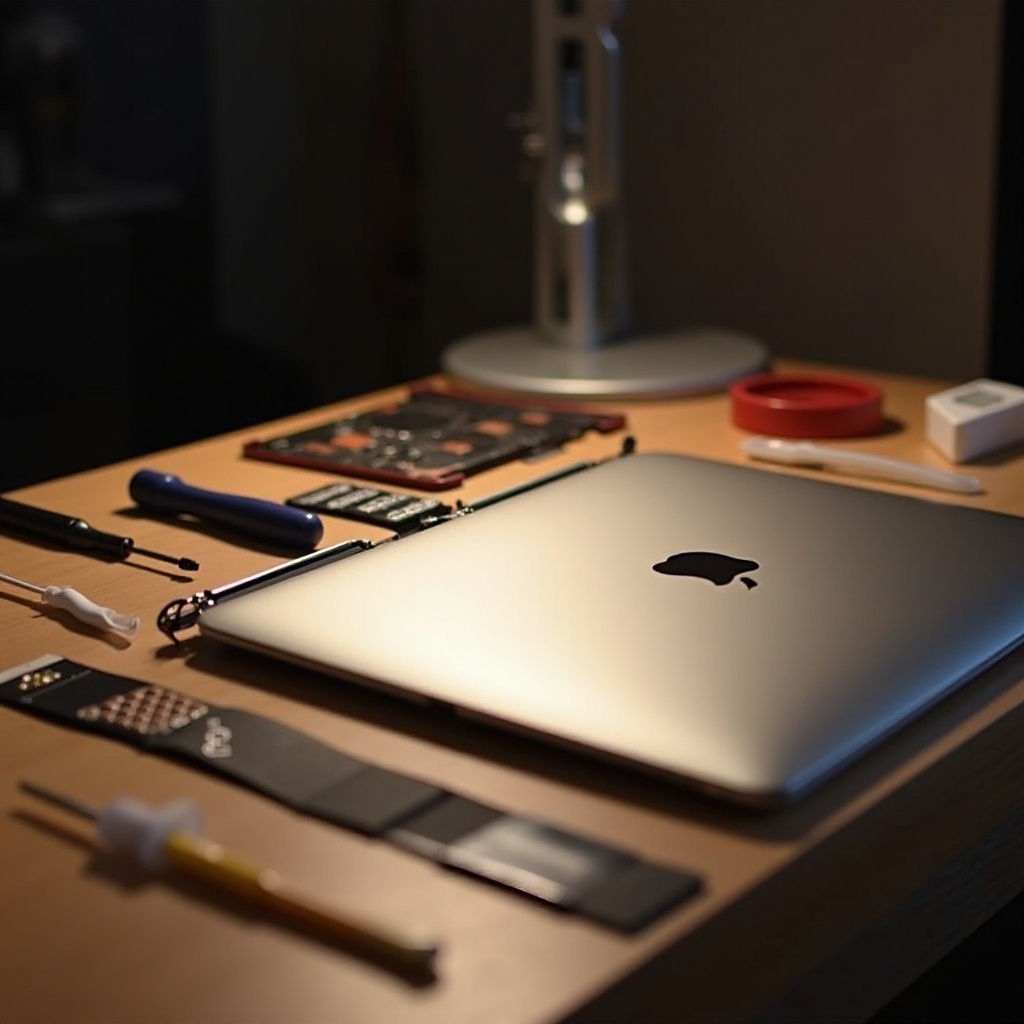
Preparing for Screen Replacement
Proper preparation is essential for a seamless screen replacement. Gathering the right tools and creating an efficient workspace are crucial steps.
- Tools and Materials Needed:
- Precision screwdriver set
- Suction cup tool
- Plastic spudger
- Anti-static wrist strap
- Replacement screen
-
Clean working cloth
-
Setting Up Your Workspace:
- Choose a clean, well-lit area for working.
- Arrange tools for easy access.
- Ensure you wear an anti-static wrist strap to prevent electrostatic damage.
After setting up your workspace, you are ready to proceed with removing the damaged screen, paving the way for successful installation.
Step-by-Step Guide to Removing the Old Screen
Removing the old screen requires attention to prevent more damage and ensure a smooth transition.
- Detaching the Screen:
- Shut down your MacBook and unplug external devices.
- Position your MacBook on a padded surface.
- Use a suction cup tool near the top edge to create a gap.
-
Insert the plastic spudger to separate the screen from the casing carefully.
-
Disconnecting Cables and Ports:
- Locate the cables connecting the screen to the motherboard.
- Use precision screwdrivers to loosen screws securing the connectors.
- Disconnect the cables gently to prevent damage.
With the old screen removed, you can shift focus to installing the new screen, ensuring it fits perfectly and functions well.
Installing the New Screen on Your MacBook
Installing the new screen involves careful alignment and connecting cables accurately.
- Aligning the New Screen:
- Position the replacement screen over the MacBook body.
-
Ensure perfect alignment with ports and connectors.
-
Connecting the Cables:
- Re-attach the cables to the motherboard connectors.
- Secure them tightly using screws.
- Carefully set the screen back into the casing using appropriate pressure.
Once installation is completed, it’s crucial to perform post-replacement checks to confirm that your DIY effort succeeded.
Post-Replacement Checks and Troubleshooting
Testing your screen ensures the functionality and success of your installation.
- Testing Screen Functionality:
- Reconnect external devices and power your MacBook on.
- Verify visual clarity, responsiveness, and absence of flickers.
-
Test multiple applications for smooth performance.
-
Common Issues and Solutions:
- If inactivity persists, re-check the cable connections.
- For any distortion, gently adjust the screen placement.
- Recurring issues may necessitate verifying your tools and parts quality.
Completing these checks signifies the end of your screen replacement journey and marks a step forward in your DIY capabilities.

Conclusion
Mastering the art of replacing a MacBook screen not only saves money but also empowers you with valuable skills. With patience and precision, you can successfully navigate the replacement process, restoring your device’s functionality and extending its lifespan. Embrace this DIY approach and enjoy a well-functioning MacBook.
Frequently Asked Questions
How much does it cost to replace a MacBook screen yourself?
Replacing a MacBook screen yourself typically costs between $100 to $300, depending on the screen model you choose.
Can I replace my MacBook screen without professional help?
Absolutely! With precise tools and a detailed guide, you can replace your MacBook screen without needing professional assistance.
How long does it take to replace a MacBook screen at home?
The complete screen replacement process usually takes around 1 to 2 hours, depending on your level of experience and familiarity with the task.