Introduction to Apple Watch Bands
Apple Watch bands are more than just a functional component of your wearable tech; they are an extension of your personal style. With an extensive variety of designs, materials, and colors, these bands allow users to tailor their Apple Watch to reflect personal taste and meet the demands of different occasions. Whether you are gearing up for a formal dinner, a workout session, or a casual day out, switching to the appropriate band can enhance your overall experience. Designed for user-friendly interchangeability, Apple Watch bands fit across multiple models, providing a seamless transition without the need for specialized tools. Understanding the nuances of band removal and replacement is essential not only for maintaining the sleek appearance of your watch but also for preserving its functionality over time.
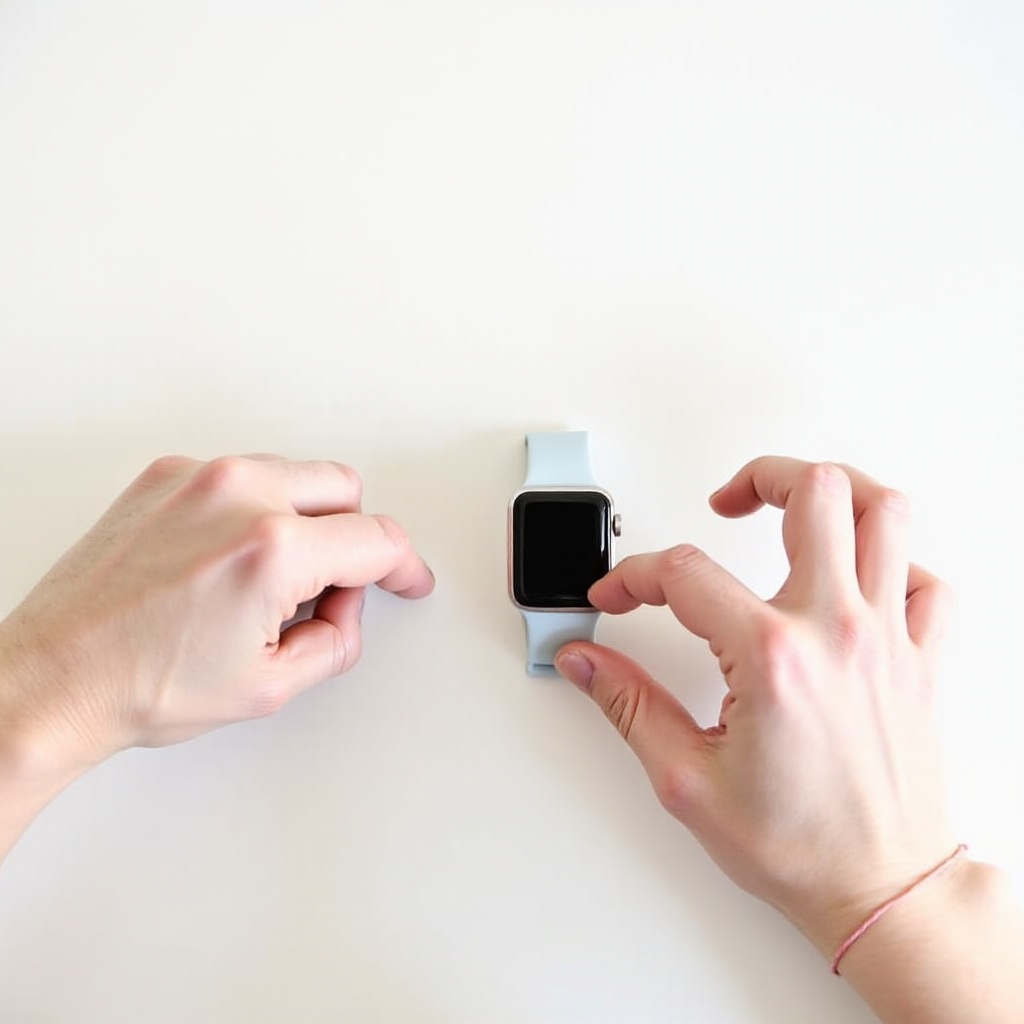
Push Down on the Lock Release Button and Hold
Locating the Lock Release Button
The journey to successfully removing an Apple Watch band begins with finding the lock release button—a critical component in the process. These buttons are discreetly nestled on the underside of the watch case, where the band connects to the watch itself. Designed to blend with the watch’s aesthetic, they remain unobtrusive yet accessible. By gently feeling the area with your fingertip, you can identify the small, oval-shaped buttons. This discovery is key; applying the right pressure on these buttons is what unlocks the band, allowing you to make a clean removal. Hence, mastering this initial step ensures a trouble-free experience when altering your watch’s appearance.
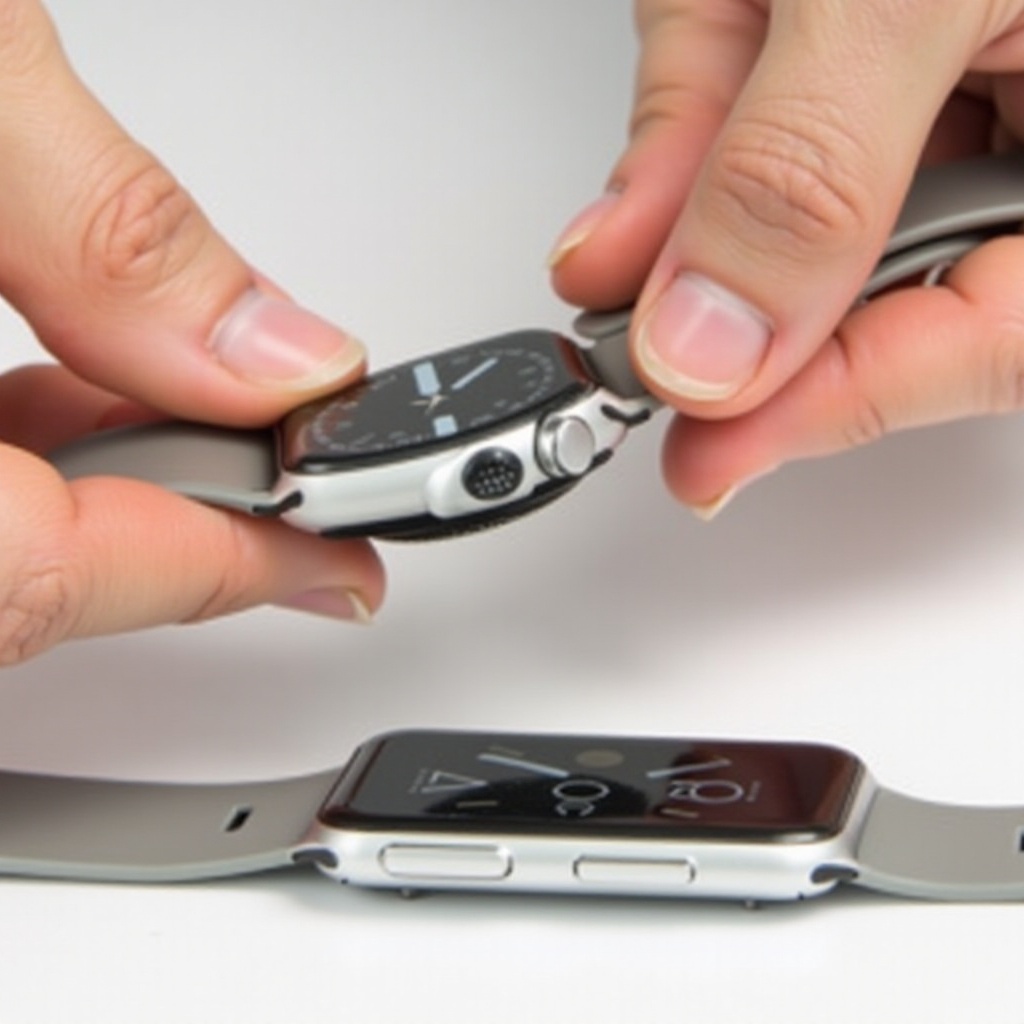
A Step-by-Step Guide to Release the Band
With the lock release button identified, proceed by placing your Apple Watch on a soft surface, like a microfiber cloth, to prevent scratches. This setup will also provide stability as you work on removing the bands. To release the band, press firmly but gently on one of the lock release buttons while simultaneously sliding the band in the direction it is meant to go. Keeping constant pressure on the button is crucial; failure to do so can cause the locking mechanism to re-engage prematurely, making the task harder. Once the band begins to move, you’ll notice it slides effortlessly out of its channel. For complete band removal, repeat the same process on the other side of the watch. This method highlights the importance of gentle handling, maintaining both the aesthetic and mechanical integrity of the watch.
Slide the Band Out in Either Direction
The beauty of Apple Watch design lies in its simplicity and efficiency, a notion that’s evident in the flexibility to slide the band out in either direction. This dual-directional feature allows users to choose the most comfortable direction for band removal, whether it’s towards the right or left. If you notice the band doesn’t slide out smoothly, pause to check for any dirt or obstructions in the slot. Sometimes, minute dust particles can create friction, hampering a smooth removal. Use a soft brush or compressed air to clean the channels if needed. Also, confirm that you’re consistently applying pressure on the lock release button, as varied pressure can hinder the process. These proactive measures assure a seamless and pleasant band-changing experience every time.
Replace Your Band by Sliding the Band Back Through the Channel
Once the old band is removed, it’s time to attach a new one. Choose a band that suits your next activity or mood, ensuring a proper aesthetic match. To replace the band, align the new band with the channel, making sure the printed side is facing the correct way to secure functionality and proper orientation. Gently push the band into the channel, listening for the gratifying click that signals it is securely in place. If the band doesn’t click, withdraw it and examine the alignment before trying again. Proper engagement not only affirms that the band is fixed correctly but also ensures that it services your needs without the risk of accidental detachment. Repeat this process for the other side to complete the transformation.
Summary
Customizing your Apple Watch via band changes is an easy, rewarding process, enhancing both its functionality and your personal style. This guide provides an efficient roadmap to understanding and performing the band removal and replacement process. By familiarizing yourself with the lock release mechanism and optimizing the sliding technique, you can effortlessly switch bands, adapt your watch to various settings, and keep your watch game strong and savvy. Mastering these steps ensures your watch remains in peak condition, reflecting your dynamic lifestyle and maximizing the Apple Watch’s potential as a versatile accessory. Embrace the convenience and style freedom that comes from knowing how to safely change your Apple Watch bands.
Can all Apple Watch bands be removed and interchanged?
Yes, all Apple Watch bands can be removed and interchanged, but it’s essential to note that they must be compatible with your specific Apple Watch model. Apple’s design allows for easy band interchangeability, providing users with the flexibility to customize their watch’s appearance to match their style or occasion. However, ensure that the band size matches the case size of your watch, as bands made for one case size will not fit another. Apple Watch bands are generally categorized into sizes such as 38/40/41 mm and 42/44/45/49 mm, and mixing between these two categories is not feasible.
How to remove and replace an Apple Watch band?
To remove and replace an Apple Watch band, follow these straightforward steps:
- Place your Apple Watch face down on a clean surface like a microfiber cloth to prevent scratches.
- Locate the band release button on the back of the watch. There are two release buttons at both ends of the band connection.
- Press and hold one release button while you slide the corresponding band segment to the side to remove it. You may need to apply some gentle pressure for it to slide out.
- Repeat the process with the other band segment using the other release button.
- To attach a new band, align it with the groove on the Apple Watch, then slide it in until you feel and hear a click, which ensures it’s securely in place.
Always make sure to regularly check the bands after attaching them to ensure they are fit tightly to avoid any accidental detachments. Remember that not all third-party bands may offer the same seamless fit as Apple’s bands, so it’s advisable to purchase bands from reputable manufacturers to ensure quality and fit.