Introduction
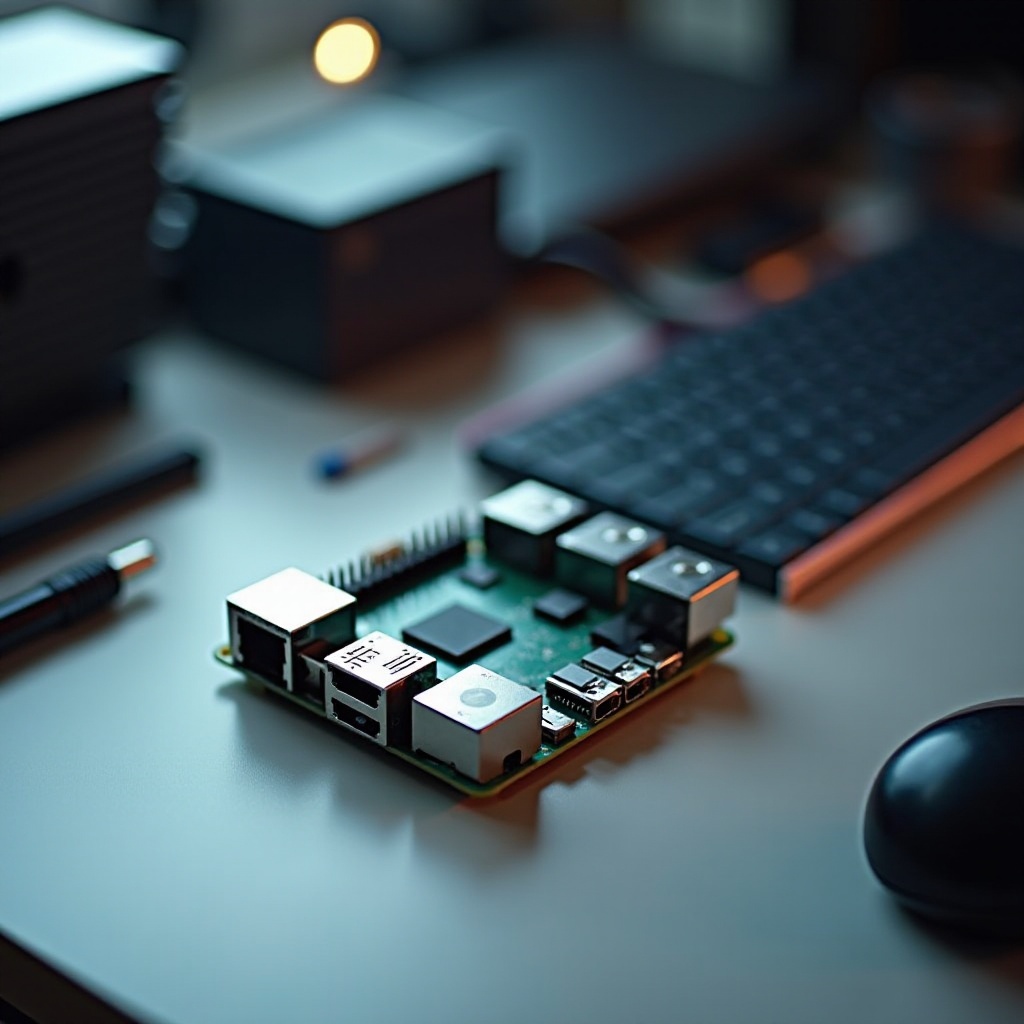
Overclocking your Raspberry Pi 4 unlocks potential by pushing its limits to achieve superior performance. Whether for a media center, server applications, or experimental projects, enhancing the Raspberry Pi’s capabilities can be advantageous. However, it’s important to carefully balance the benefits against potential risks such as overheating and system instability.

Understanding Overclocking
Overclocking involves running your Raspberry Pi 4’s CPU and GPU at higher speeds than initially set by manufacturers. This enhancement increases processing power, enabling you to run resource-heavy applications more efficiently.
-
What is Overclocking?
Overclocking is the process of raising the clock rates of your device’s components to gain additional speed and processing power, pushing the limits set by the manufacturer. -
Benefits of Overclocking Raspberry Pi 4
The main advantage is improved processing speed, which allows for smoother operations and enhanced multitasking, particularly beneficial for gaming and media applications. -
Risks Involved
There’s a risk of overheating and reduced hardware lifespan if not properly managed. It’s crucial to understand these risks to prevent damage and maintain a stable system.
Gaining a clear understanding of overclocking will help you decide if this is the right choice for your Raspberry Pi 4 setup and its intended use.
Preparing for Overclocking
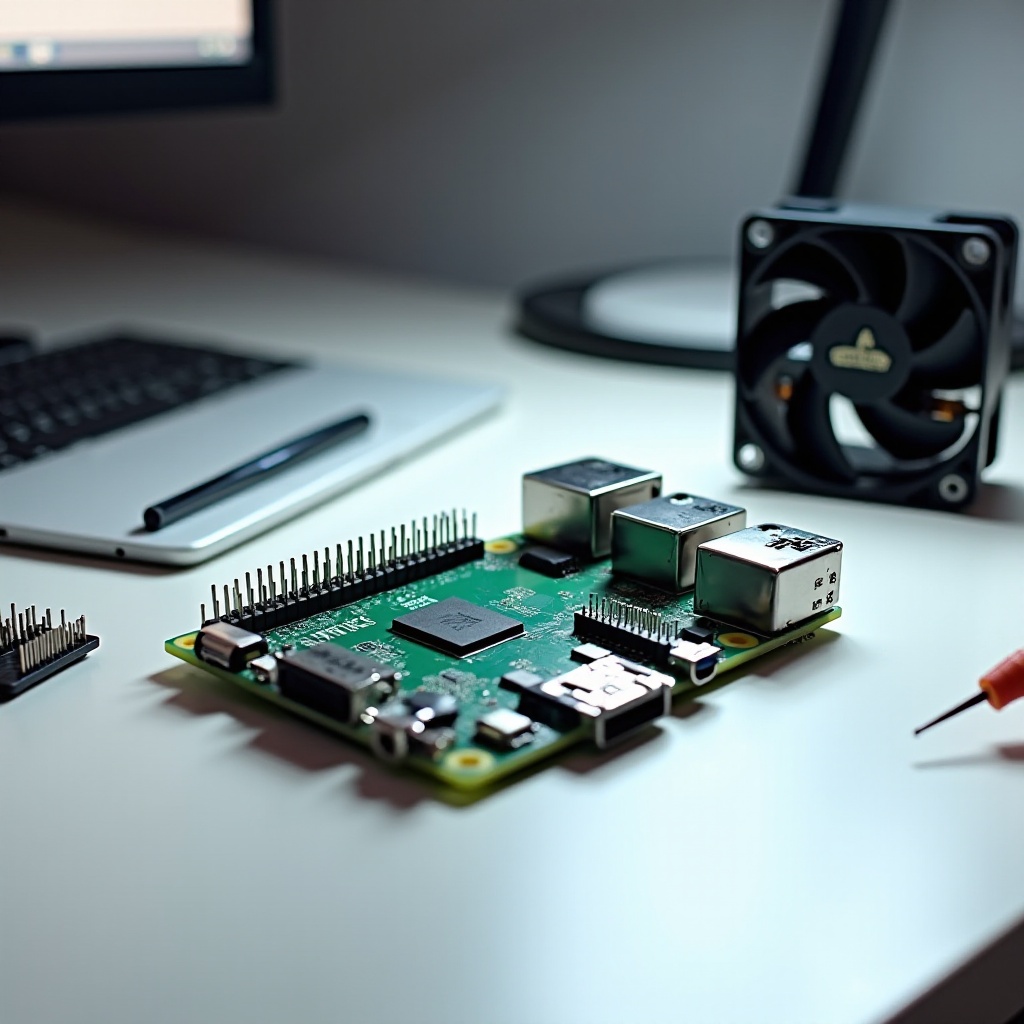
Being prepared is a critical part of the process when you choose to overclock your Raspberry Pi 4. This includes gathering essential tools and ensuring system backup.
-
Necessary Tools and Equipment
Ensure you have a reliable power source, a cooling setup like heat sinks or fans, and a monitor for temperature tracking. Also, your Raspberry Pi OS SD card should be ready. -
Backing Up Your System
Backup is crucial before making any system changes. Use tools like Raspberry Pi Imager or Win32DiskImager to create a full system backup to revert changes if necessary.
With your tools ready and backup complete, you set the foundation to proceed with the overclocking process.
Step-by-Step Guide to Overclocking Raspberry Pi 4
Following this guide will help you overclock your Raspberry Pi 4 safely:
- Accessing the Config.txt File
-
Insert the SD card into a computer, locate the boot partition, and open ‘config.txt’ with a text editor.
-
Modifying CPU and GPU Frequencies
- Add the following lines to increase frequencies:
over_voltage=6
arm_freq=2000
gpu_freq=750 -
These settings increase CPU to 2 GHz and GPU to 750 MHz. Adjust according to your stability testing.
-
Adjusting Voltage Settings
- Voltage adjustments support stable overclocking. Ensure ‘over_voltage’ corresponds with your frequency settings to avoid instability.
Once modifications are saved and the SD card is reinserted, power on your Raspberry Pi 4 to test these new settings, ensuring a smooth transition to overclocked performance.
Monitoring and Ensuring Stability
After completing overclock, it’s essential to closely monitor system performance and maintain stability.
-
Using Software Monitoring Tools
Tools like ‘vcgencmd’ can monitor CPU temperature and speed. This data helps ensure components operate within safe limits, reducing risks of hardware damage. -
Identifying Signs of System Stress
Be vigilant for overheating symptoms or instability, such as frequent reboots or crashes, and adjust settings or enhance cooling if needed.
Monitoring allows for timely interventions, ensuring your Raspberry Pi 4 runs efficiently and safely while overclocked.
Troubleshooting Common Issues
Despite precautions, issues might arise during or after overclocking. Here’s how to address them effectively:
-
Overheating Solutions
To combat overheating, improve cooling with advanced heat sinks or fans, ensuring optimal thermal paste application. -
Reverting to Default Settings
If persistent issues occur, revert to original settings by deleting modifications in ‘config.txt’. Restart your Raspberry Pi to return to factory defaults.
These troubleshooting measures can help maintain an overclocked setup without compromising system integrity.
Best Practices for Safe Overclocking
To ensure safety and longevity of your device, follow these recommended practices:
-
Implementing Effective Cooling Techniques
Enhance cooling solutions with fans or customized heat sinks, and maintain clean environments for unrestricted airflow. -
Regularly Checking System Health
Frequent system health checks help spot potential issues early, maintaining smooth operation and extending hardware lifespan.
Adopting these practices helps harness the benefits of overclocking while minimizing risks of damage to your Raspberry Pi 4.
Conclusion
Overclocking your Raspberry Pi 4 can significantly enhance its performance, making it more versatile and capable of handling demanding tasks. By carefully following this guide, you ensure a balanced approach to unlocking its full potential while maintaining stability and safety.
Frequently Asked Questions
What is the maximum safe overclock for Raspberry Pi 4?
The maximum safe overclock typically reaches 2.0 GHz for the CPU and 750 MHz for the GPU, depending on cooling and power supply.
Will overclocking void my Raspberry Pi 4 warranty?
Overclocking may void your warranty because it operates the device outside of manufacturer-recommended settings.
How can I ensure my Raspberry Pi 4 remains stable after overclocking?
Regular monitoring of temperatures and system stability, along with effective cooling, helps maintain stability post-overclocking.